
 English
 French
 Deutsch
 العربية
 Español
 Русский
 にほんご
 Português
 한국어
Rapid Prototyping 3D Printing Defined
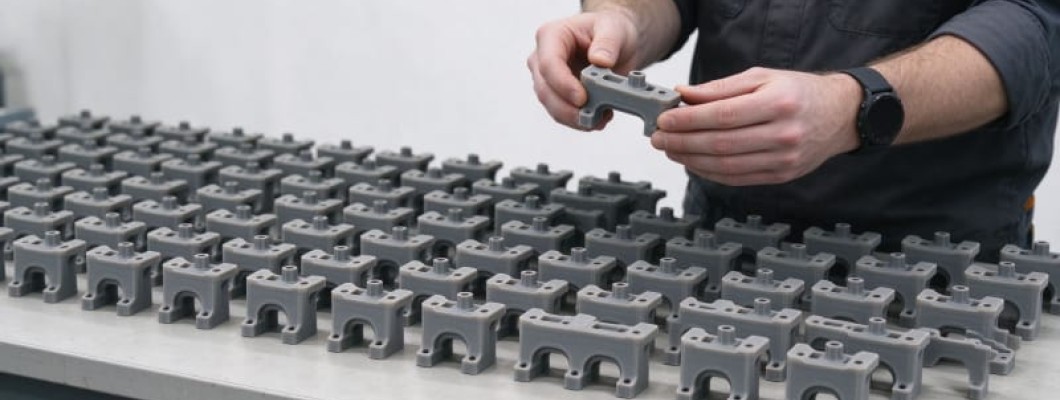
Turning a CAD model into a physical part in hours or days, rapid prototyping 3d printing lets engineers hold, test and challenge a design long before any tooling is cut. Instead of committing to expensive tooling on the strength of a screen model, teams build a real object, observe how it behaves, and use what they learn to improve the next version.
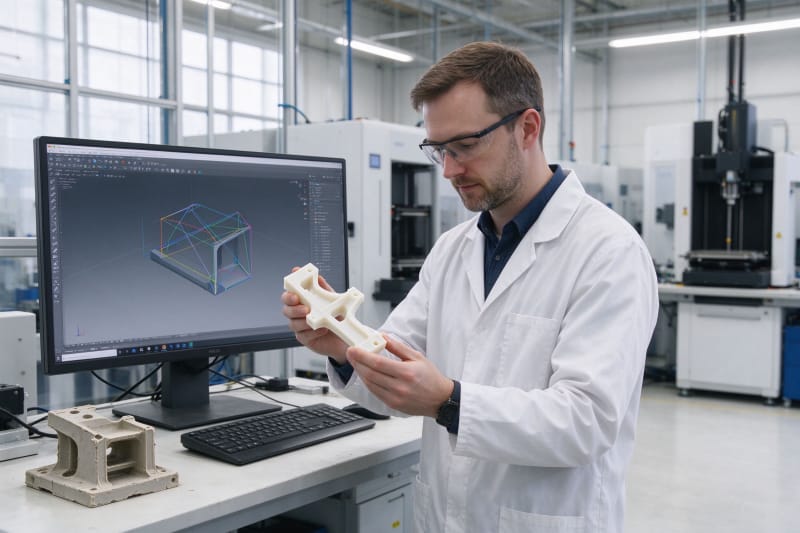
The method sits at the front of product development, where uncertainty is highest and decisions are cheapest. A concept sketch answers some questions, and a render answers a few more, but neither reveals how a part fits in an assembly, how it feels in the hand, or how it responds to load. A printed prototype answers those questions directly, and it does so without the lead times of conventional machining.
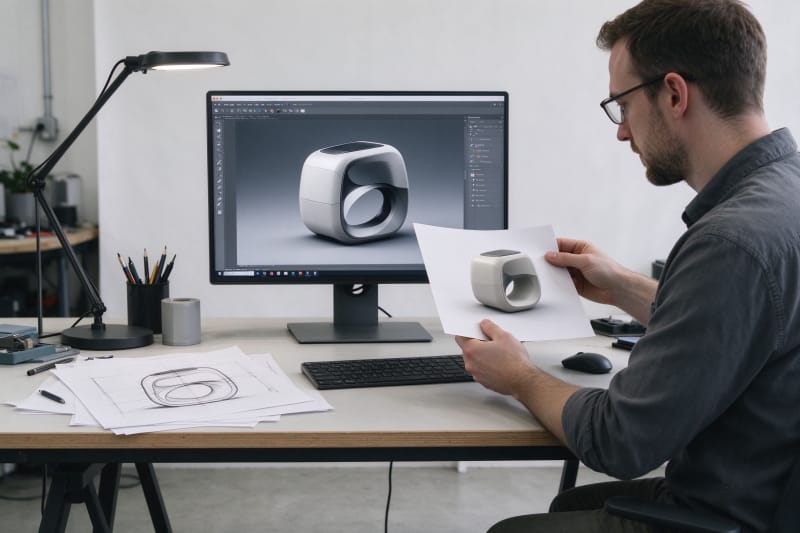
It helps to separate a prototype from a production part. A 3d printing prototype is built to learn; it may use a different material, a relaxed tolerance, or a surface finish that is good enough to evaluate rather than specified for thousands of units. Production parts are built to repeat, with locked drawings, certified materials and the same result from the first batch to the last. Treating these two goals as the same is where many projects lose time and money.
Technology | Typical materials | Typical lead time | Relative cost per part | Best for |
FDM | PLA, ABS, PETG, TPU | 1 to 3 days | Low | Early concept models, large housings, jigs |
SLA / DLP | Photopolymer resins | 1 to 4 days | Low to mid | High-detail form models, smooth enclosures, master patterns |
SLS | PA12, PA11, TPU nylon | 3 to 6 days | Mid | Tough functional parts, living hinges, snap fits |
MJF | PA12, PA11 | 3 to 6 days | Mid | Repeatable functional nylon parts, small batches |
PolyJet | Rigid and rubber-like resins | 2 to 5 days | Mid to high | Overmolded looks, multi-material ergonomic models |
Why Iteration Speed Changes the Outcome
Product design is a loop, not a line. Teams design a part, build it, test it, and refine it, and the number of times they can complete that loop before launch largely determines how mature the product feels. The effect matters because rapid 3d printing compresses each turn from weeks to days, so a team can run five or ten iterations in the time a single tooled revision once took, arriving at a stronger answer rather than accepting the first one.
The economics favor acting early. A change that is trivial while a part exists only as a file becomes progressively more expensive once tooling is made, parts are molded, and the product reaches customers. The widely used relative cost index treats a change during design as one unit, and shows it rising by roughly an order of magnitude at each later stage. Prototyping catches problems while they are still one-unit problems.
The same effect shows up in lead time. A conventionally machined prototype commonly takes one to three weeks, and a first injection-molded part waits on tooling that often takes four to eight weeks, while a printed prototype typically arrives in one to six days depending on the process. When every week before launch carries market value, that difference is not a convenience; it is the difference between launching the product and missing the window.
The Prototype Levels Product Teams Actually Use
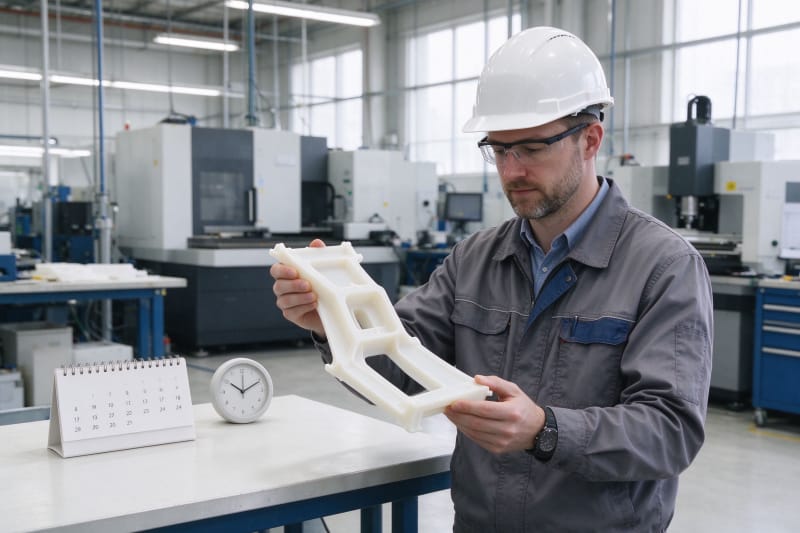
Teams generally move through a ladder of prototype levels. A concept or form prototype focuses on shape, scale and ergonomics, answering whether the product looks and feels right, and is often produced in a smooth resin or inexpensive plastic. A fit prototype checks assembly, clearances and interfaces between components. A functional prototype goes further, using a material and process close enough to production to test mechanics, snap features and load cases.
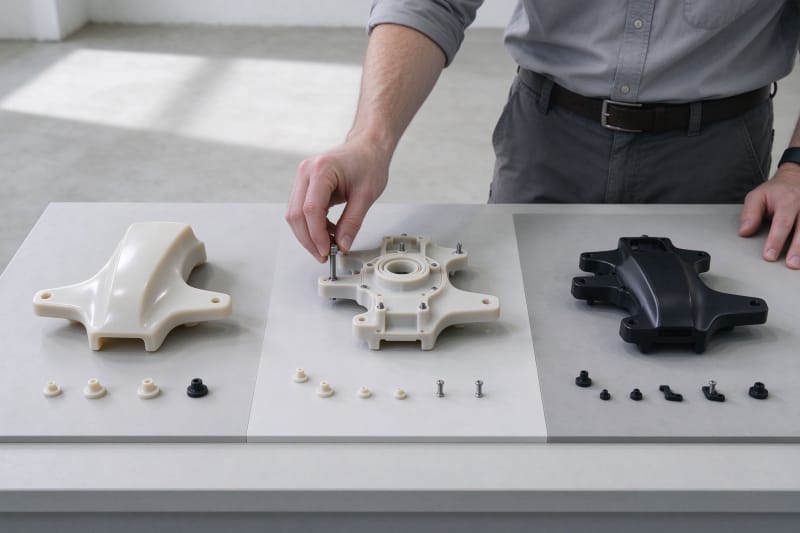
Each level has a different success metric, so overbuilding every part is a waste. A beautiful concept model that cannot answer a fit question proves very little, and a rugged functional part is unnecessary when the only open question is color or styling. The disciplined approach is to name the question, choose the cheapest prototype level that can answer it, and reserve production-grade materials for the final engineering rounds.
|
Matching the Technology to the Design Question
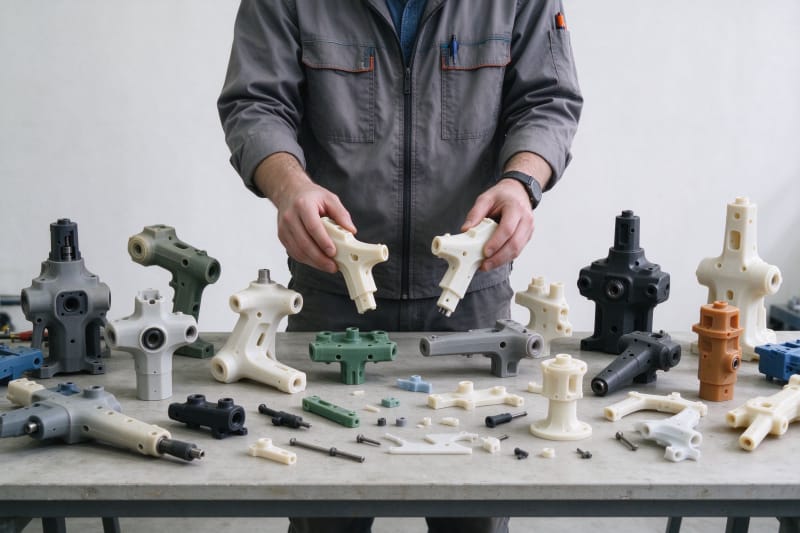
The technology should follow the design question, not the other way around. FDM is the economical choice for large, early housings and rough form models where visible layer lines do not matter. SLA or DLP wins when fine detail and smooth surfaces are the point, and SLS or MJF is the right answer when the part must flex, snap, bear load or survive repeated handling.
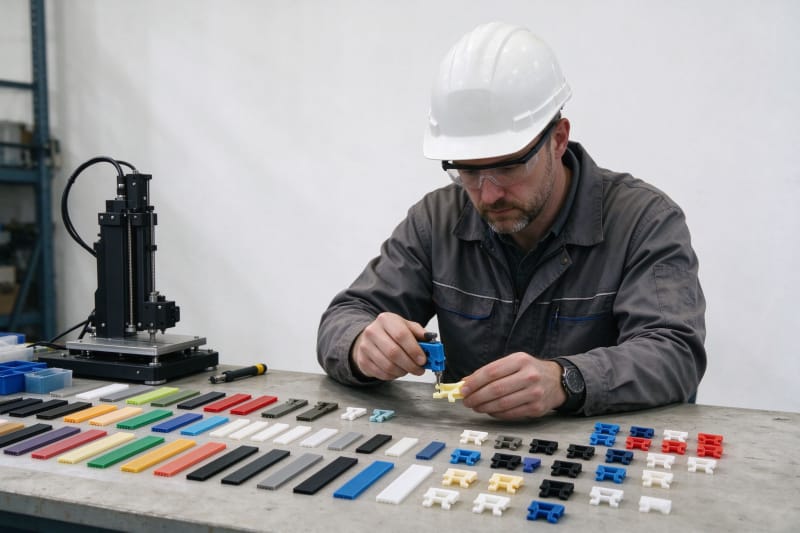
It is also important to match the material to the test. A snap fit evaluated in a brittle resin will fail for the wrong reason, and a sealing surface tested in a porous material will not reflect production. HUANYA engineers review each model and recommend the process, material and orientation that let the prototype answer the real question, so the results of a test carry over to the production design rather than misleading it.
From First Print to a Validated Design
Printing is rarely the last step. Parts are cleaned, support structures are removed, and surfaces are sanded, polished, painted, plated or bonded to reach the intended look and function. Tapped holes, inserts, soft-touch grips and assembled multi-part enclosures can all be delivered so the prototype looks and behaves like the intended product, which is essential when a model is used for stakeholder review, photography or crowdfunding.
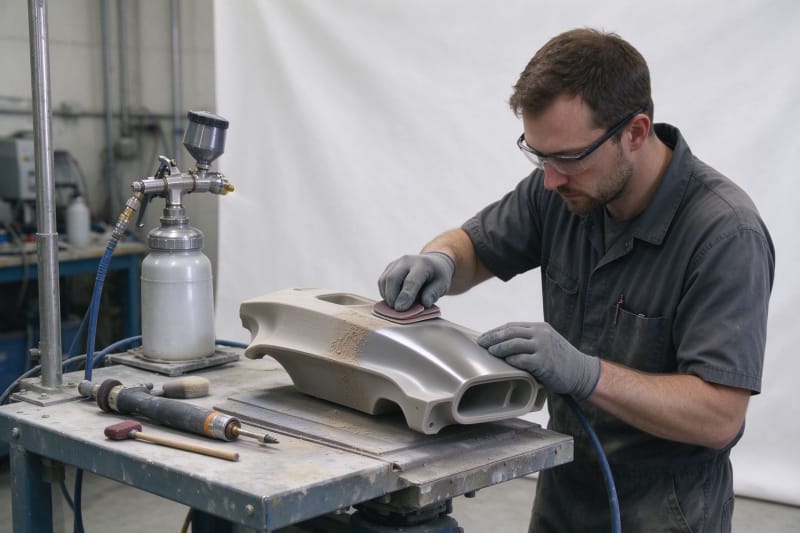
Business buyers consistently raise three concerns, and each is a process problem rather than a promise. Dimensional and accuracy stability across iterations is controlled through calibrated machines, defined process parameters and measured first articles. On-time delivery comes from realistic scheduling, transparent capacity and confirmed ship dates. Finishing consistency comes from documented post-processing standards and inspection of every batch. HUANYA treats unstable dimensions, late delivery and inconsistent finishing as defects that the workflow is designed to prevent, not as acceptable variation.
The Cost Economics of Fast Prototyping
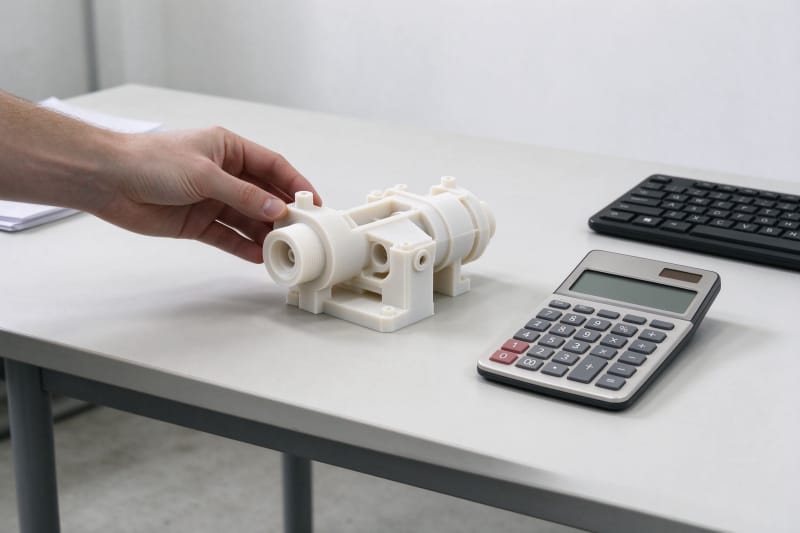
Fast prototyping avoids the largest cost in traditional development, the tool. There is no mold to design, cut and modify, so the cost of a printed prototype is driven mainly by part volume, build height, machine time, material and finishing rather than a fixed upfront investment. This means a single part or a handful of iterations is affordable, and changing the design between versions does not incur the cost of reworking tooling. The economics work particularly well for complex geometries that would be expensive to machine.
Moving From Validated Prototype to Production
Once a design is validated, the same digital thread carries forward. The proven geometry moves into low-volume production or bridge manufacturing while final tooling is prepared, and the engineering data, material choices and process settings established during prototyping remain consistent rather than starting over. Teams can supply early market demand, validate packaging and assembly, and de-risk the ramp before committing to high-volume production, closing the gap between a successful prototype and a shippable product.
Start Your Next Prototype With HUANYA
If a new product is stuck at the render stage, a fast prototype is the shortest way to move it forward. Upload a CAD model to the HUANYA 3d printing service and the team will recommend the right process, material and finish for the question at hand, with a clear quotation and a confirmed delivery date. From the first concept model to the final functional build, the goal is the same: help teams learn quickly, decide with confidence, and reach production without the delays that slow conventional development.


Leave a Comment